Widget Implementation Guide
The widget can be integrated into your site in two primary ways:
- As a Popup: Triggered by a button click
- Directly Embedded: Visible directly on the page
It's crucial to ensure that the page hosting the widget is not cached. This requirement is due to WordPress's need to generate a fresh 'nonce' field for security reasons, which should not be cached.
Popup Integration
To integrate the widget as a popup, insert the shortcode on your desired page:

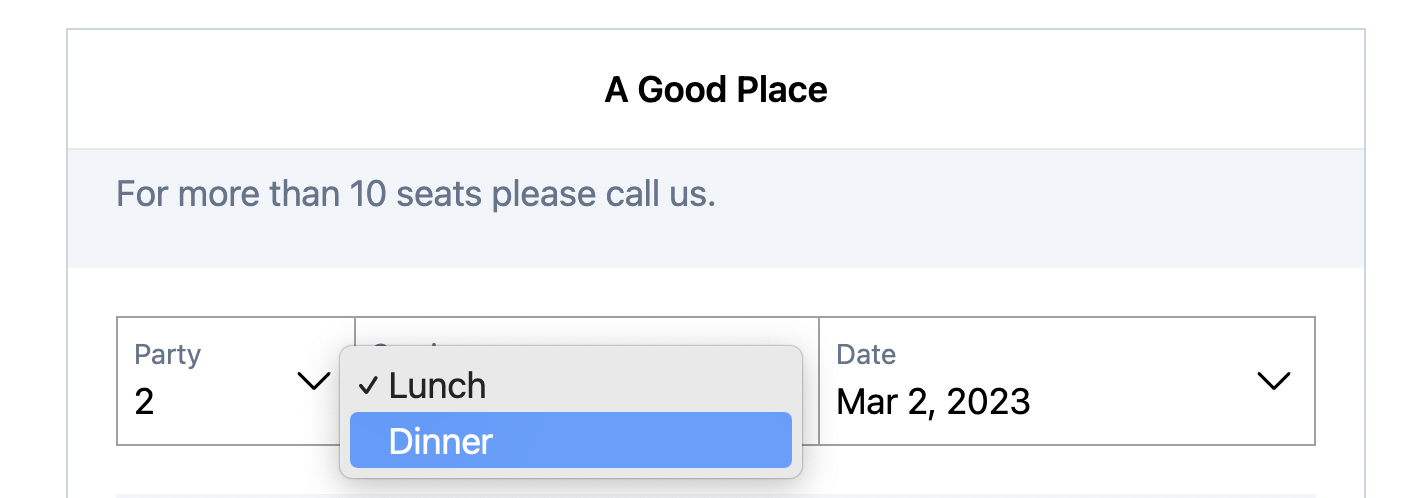
This method displays a button on the front-end, which, when clicked, opens the widget in a popup mode, allowing users to request a booking. The widget is designed to be mobile-friendly, ensuring a seamless experience across devices.


Embedded Integration
For direct embedding, use the shortcode as follows:


Multilingual Support
The widget supports multiple languages, allowing for the translation of shift/event names and descriptions. Language changes in the widget automatically update the content to the selected language, enhancing the user experience for multilingual sites.
