Building a 360-Degree Panorama Navigation for Table Reservations: A Comprehensive Guide - Part 2
In Part 1 of this series, we walked you through the essential steps to set up a 360-degree panorama navigation system for your restaurant. Creating an engaging visual tour can undoubtedly elevate the user experience, but what about taking it a step further? In this follow-up article, we will guide you on how to integrate the already captured panoramas into your reservation form widget. Doing so makes the booking process more interactive, providing a visually rich experience from start to finish.
Step 1: Customize Your Shift or Event Settings
The first step in this process is to dive into the settings for your shifts or events within your reservation system. Here, you should find a new feature or option that allows you to enable area or table selection for reservations. Enabling this function is crucial, as it will trigger the panoramas navigator to kick in during the reservation process. If you've followed the steps in Part 1, the system should already have all the areas and tables tagged correctly.
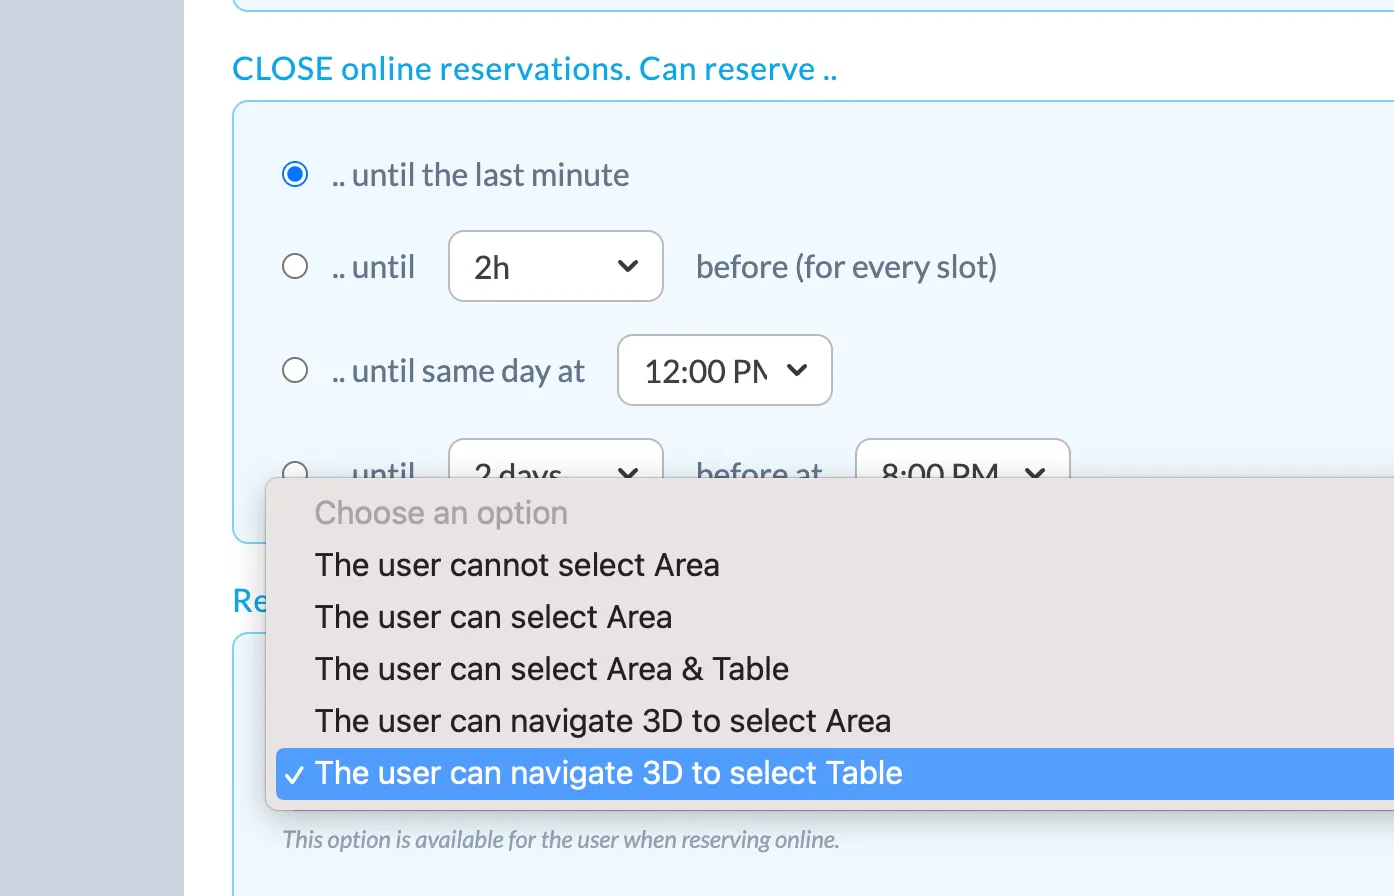 Alex Reservations | Select option for reserving
Step 2: Area Selection for Reservations
If you've opted for area-based reservations, the panoramas navigator will present users with labeled views of different areas in your restaurant. Each area will be tagged, and users can click on the area they prefer for their reservation. Should an area be fully booked, the tag for that area will appear with a red background, accompanied by a popup message to inform the user that no more seats are available in that particular section.
 Alex Reservations | User can select area
 Alex Reservations | Area is not available
Step 3: Table-Specific Reservations
For establishments that prefer a more targeted approach, table-specific reservations are also an option. In this setup, the panorama navigator will also display table tags alongside the area tags. Tables that are unavailable will have a tag displayed in red, whereas available tables will have a tag in green. Once a user selects a table, they'll have the option to either proceed with the reservation or go back to make another selection.
 Alex Reservations | User can select table
 Alex Reservations | Table is not free
 Alex Reservations | Confirm table selected
Step 4: Finalize the Reservation
With the area or table chosen, the user will then proceed to the final step: completing the reservation form. Here, they'll fill in all required fields, such as name, contact details, and any special requests. Additionally, if your system has an integrated payment gateway for reservations, the user will also complete the payment process at this stage.
By integrating a 360-degree panorama navigator directly into your restaurant’s reservation widget, you offer a more immersive, engaging experience for potential diners. While it does involve some setup and customization, the end result is a more interactive and visually pleasing reservation process, which could lead to higher conversion rates and a more robust customer experience.
In case you missed it, check out Part 1 to learn how to create the 360-degree panoramas for your restaurant. Combine both parts for an unparalleled reservation experience!